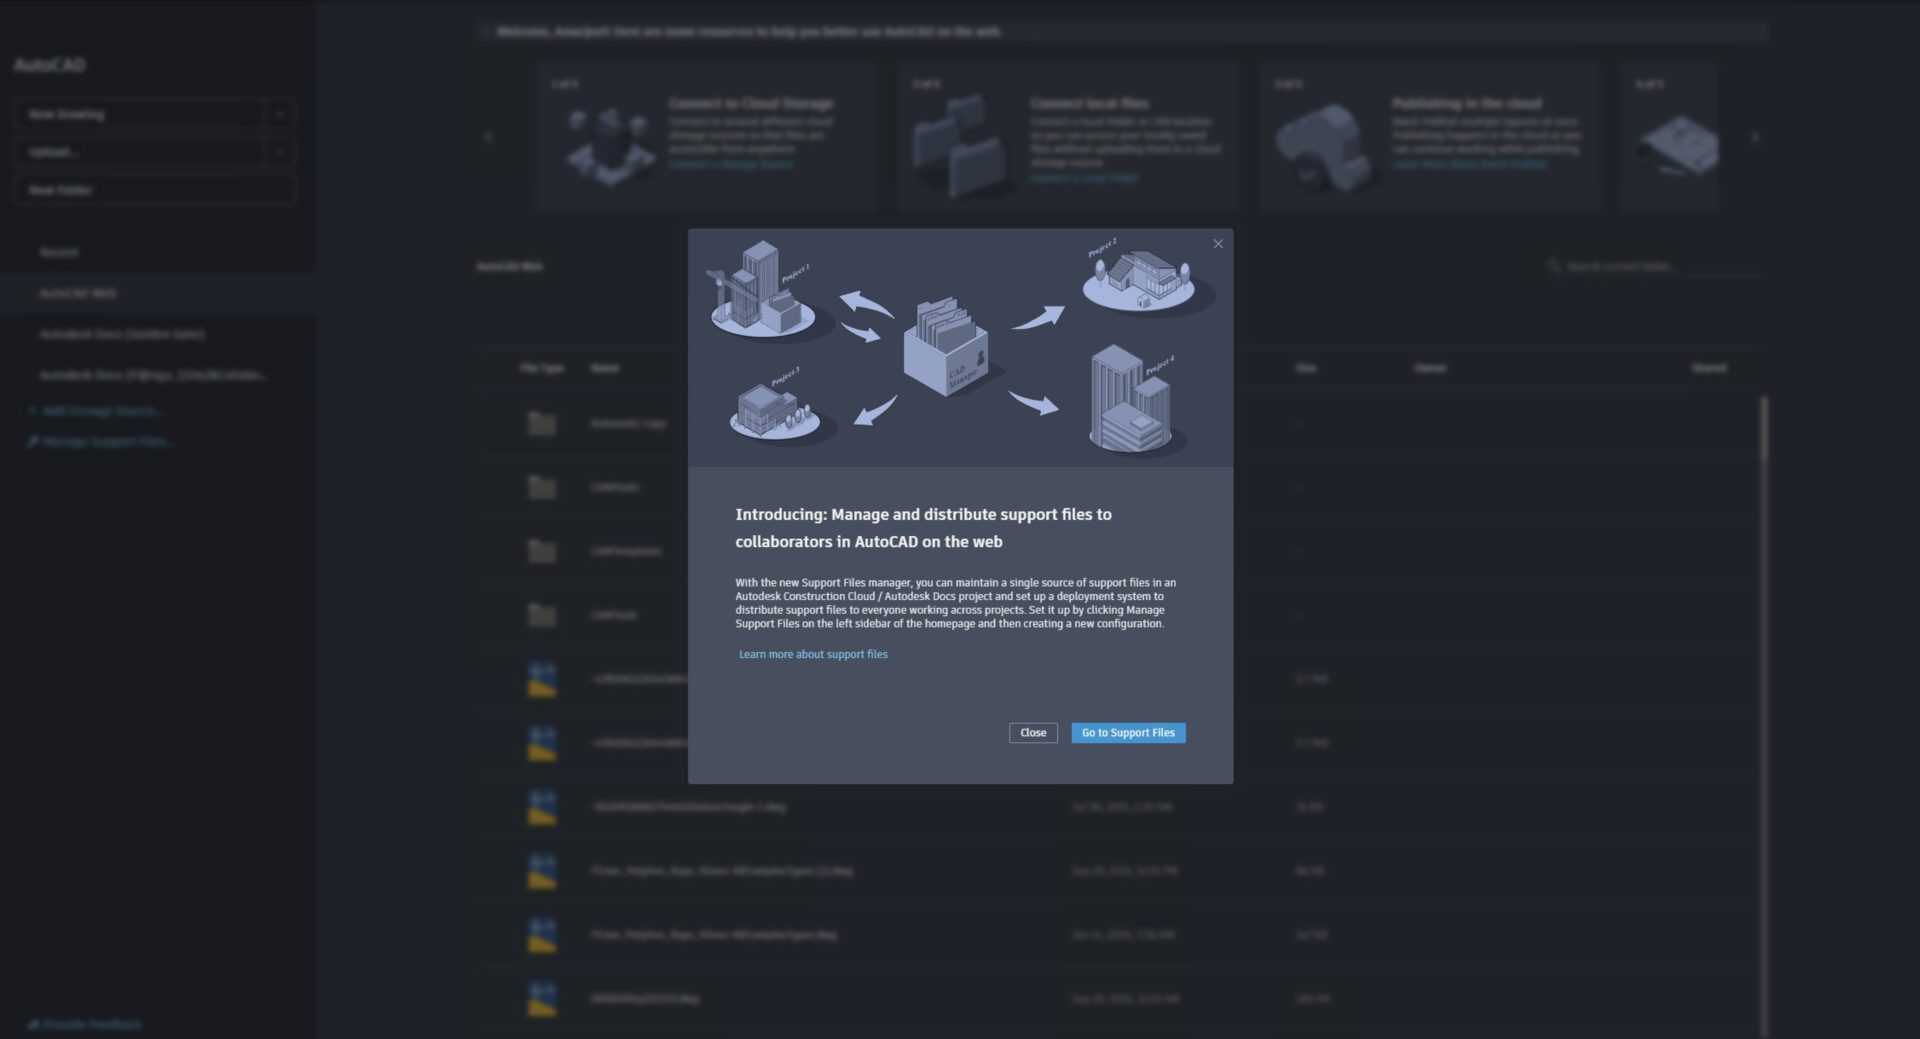
Are you a CAD administrator looking for a simpler method to maintain and deploy support files (templates, fonts, hatch pattern, plot styles, and LISP routines) in AutoCAD on the web? Shared support files is a new feature that does just that, making it easier to manage support files and to enforce company standards.
By creating and assigning a support files configuration to an Autodesk Construction Cloud (ACC) project, project administrators can create and automatically deploy support files, allowing them to group and share support file configurations with collaborators for drawings saved on ACC projects.
Support files configurations act as a bridge for accessing and distributing support files within a project. The following file types can be saved and deployed as support files using the Support Files manager:
- Templates
- Fonts
- Plot Styles
- Hatch Patterns
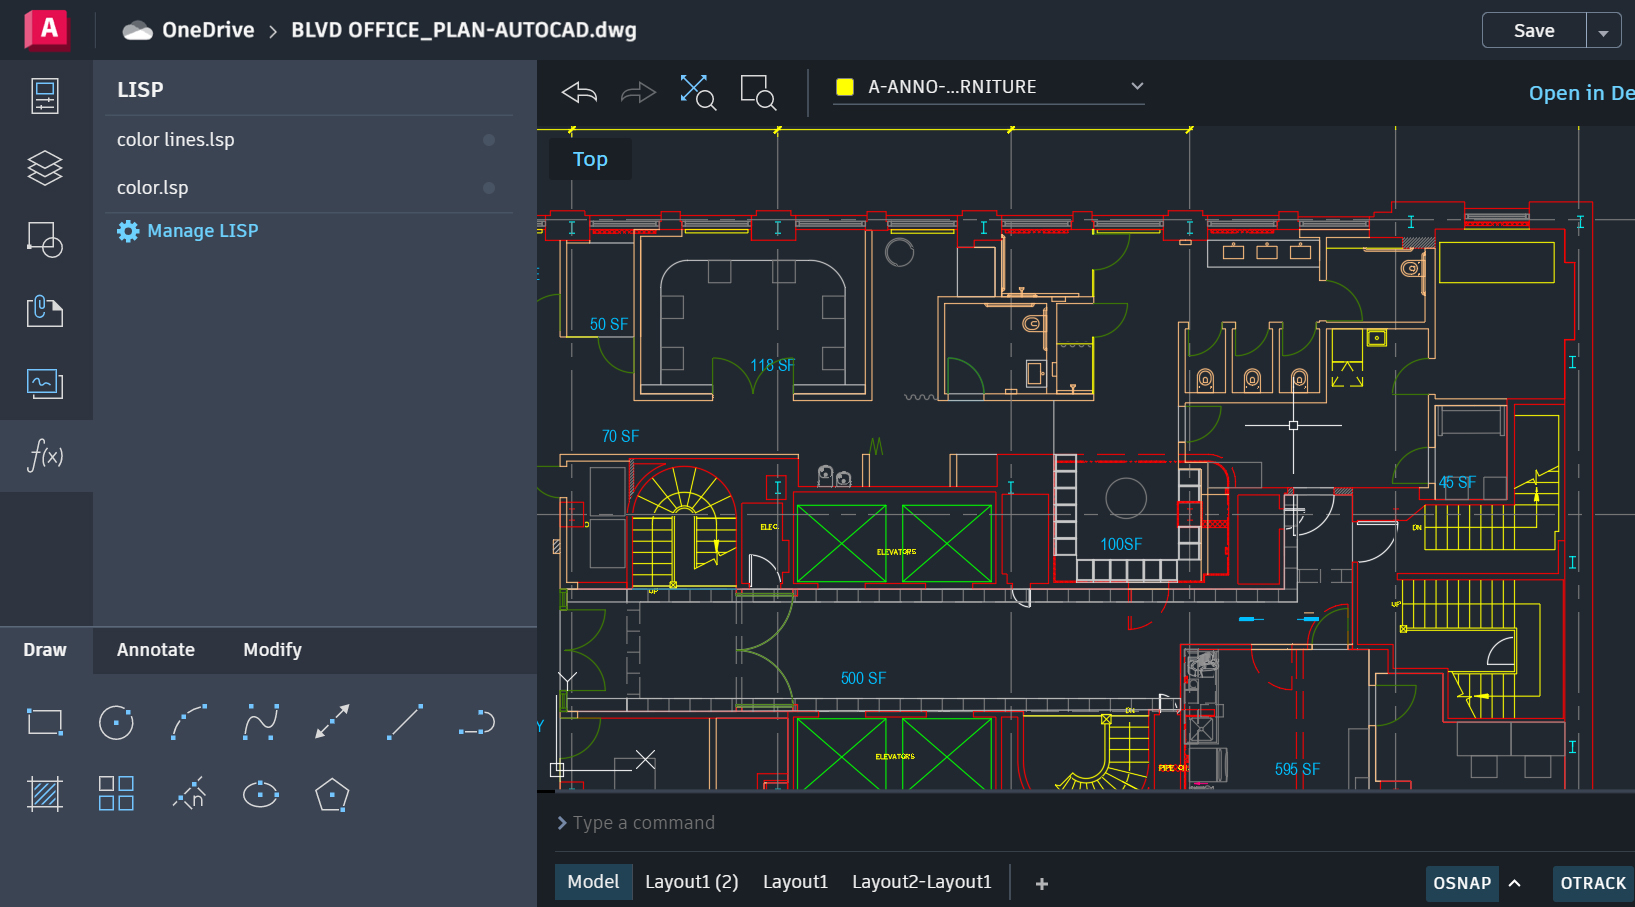
- LISP & DCL routines
Benefits of Shared Support Files
This new feature allows you to maintain a single source of support files, with no need to duplicate support files in different projects to deploy them to different collaborators! Project administrators are the only ones who can create or modify support files configurations, and non-admin members have access to support files for each project, defined and managed by administrators in ACC.
How to Use It
To set up Support Files (as an administrator)
- Connect an Autodesk Docs / ACC project. Support files must be within an Autodesk Docs / ACC project. If you haven’t already connected your projects, follow these steps to connect to Autodesk Docs projects.
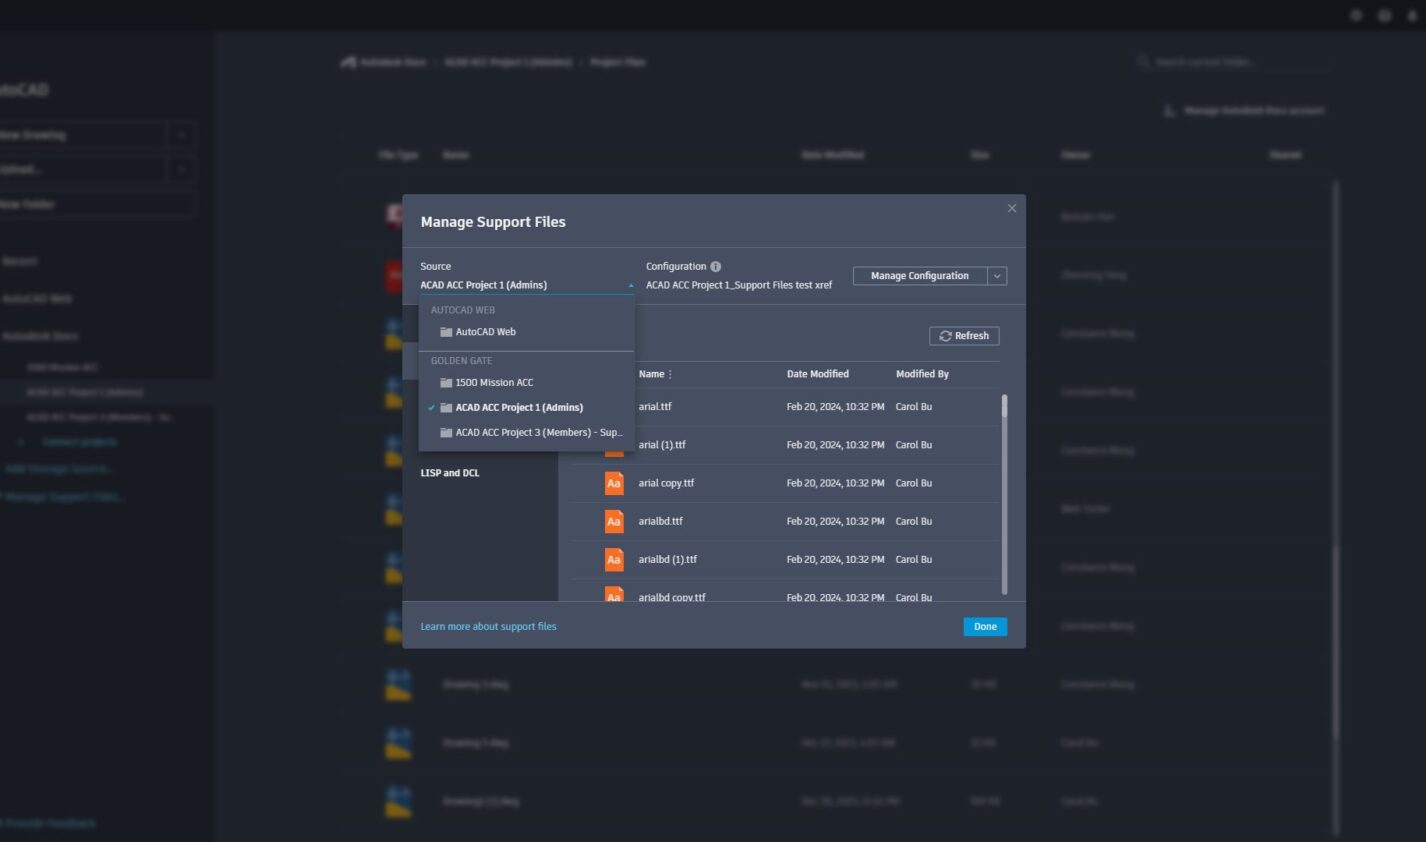
- Open the Support Files manager. On the homepage, click Manage Support Files on the left sidebar. The Support Files manager opens.
- Select a Source. From the source drop-down menu, select an ACC project.
- Create a New Configuration. Support files require a configuration file that defines the path to the location of the support files. To create a new configuration, in the Support Files manager, click the New Configuration button.
- Select Folders. Select the project that contains the support files you want to use. Then select and add the folder or folders within the project that contain the support files.
Note: Only projects for which you are an administrator in ACC will display.
- Assign & Create Configuration. Assign the support files configuration to a single project or to multiple projects, then click Create & Assign. Once you create the configuration, all members with access to the project will have access to the configuration.
How to Use Shared Support Files as a Project Member
To access and use the support files that your admin has assigned, simply connect to the ACC project in AutoCAD on the web. Follow these steps to connect to Autodesk Docs projects.
Learn More
For more information on how to use shared support files, check out this in-depth Help article.

Add comment
There are no comments